Damaged Coving
Interior ceiling coving is glued over the joint where a wall and ceiling meet, forming a decorative feature in a room. Modern homes with coved ceilings use a form of this concave molding made of lightweight plastic foam, but older homes used coving made of plaster often embossed with decorative patterns.
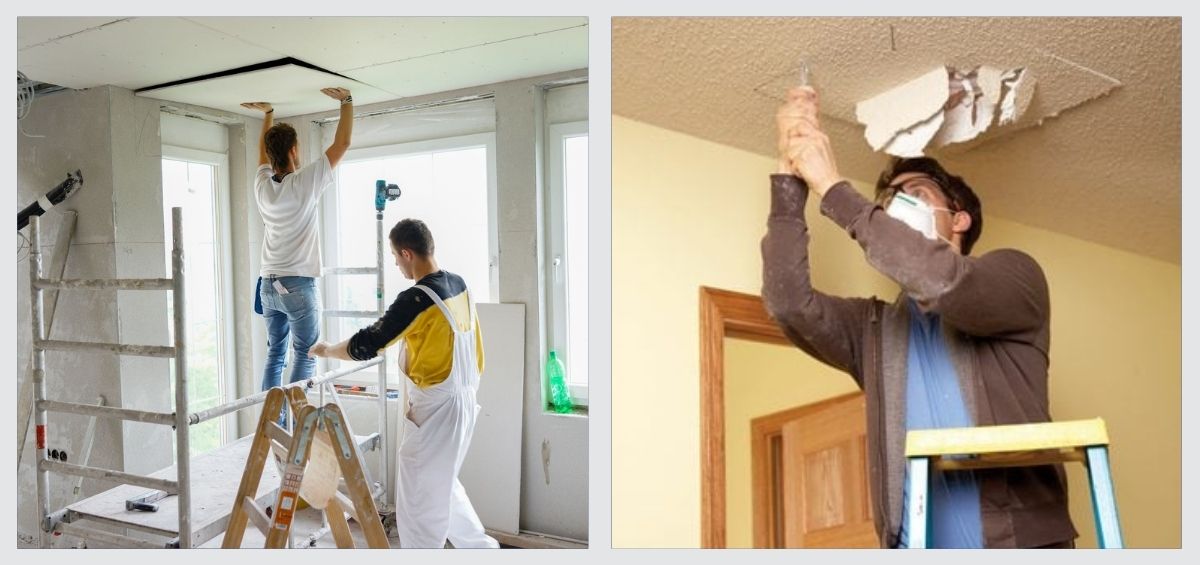
If the coving or crown ceiling in your house has been damaged either from dampness or through other events, you may wish to have it repaired or replaced. If cracks are appearing in-between your walls and coving and the coving is hanging down from the ceiling, then it’s probably time to consider replacing it or at least restoring it to its former glory.
Interior coving is a molding that fits between your wall and ceiling adding a decorative feature to your room design, although in some cases coving may have been used to conceal wiring.
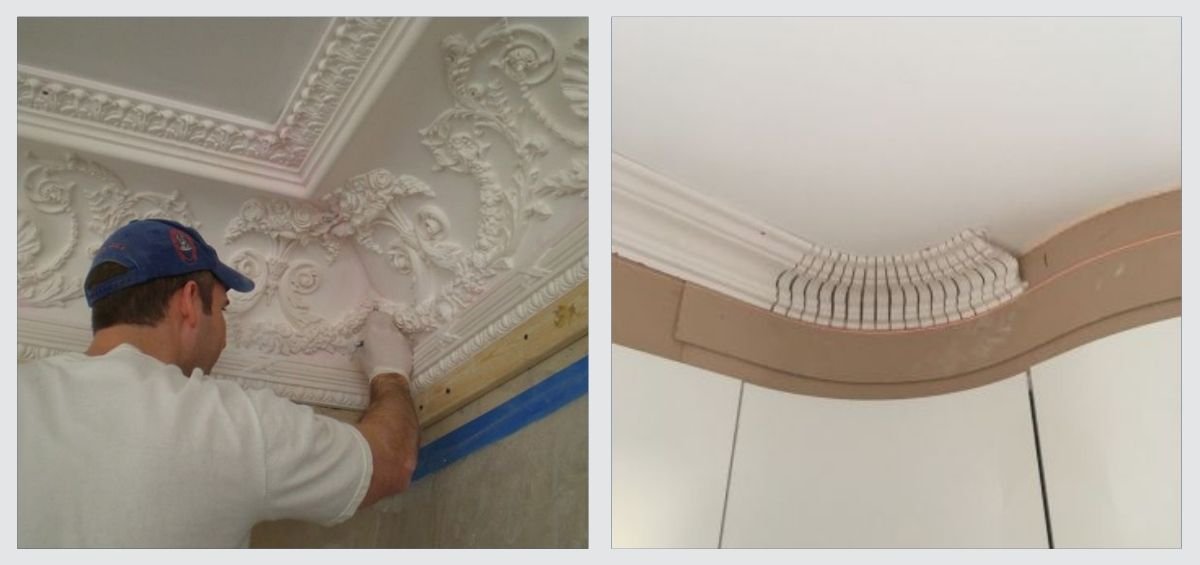
Most modern homes have coving typically manufactured from polystyrene usually with a simple design. Older houses may have plaster-based coving fitted, that usually has a more decorative and ornate pattern design.

How To Save Damaged Coving
Making Repair
A damaged coved ceiling can be repaired by replacing a damaged section of coving with a new piece that matches the existing coving. And if you are struggling to find a design that matches then you can have coving made to order, some suppliers are even able to take an imprint of the existing coving to ensure a perfect match.

Scrape And Fill
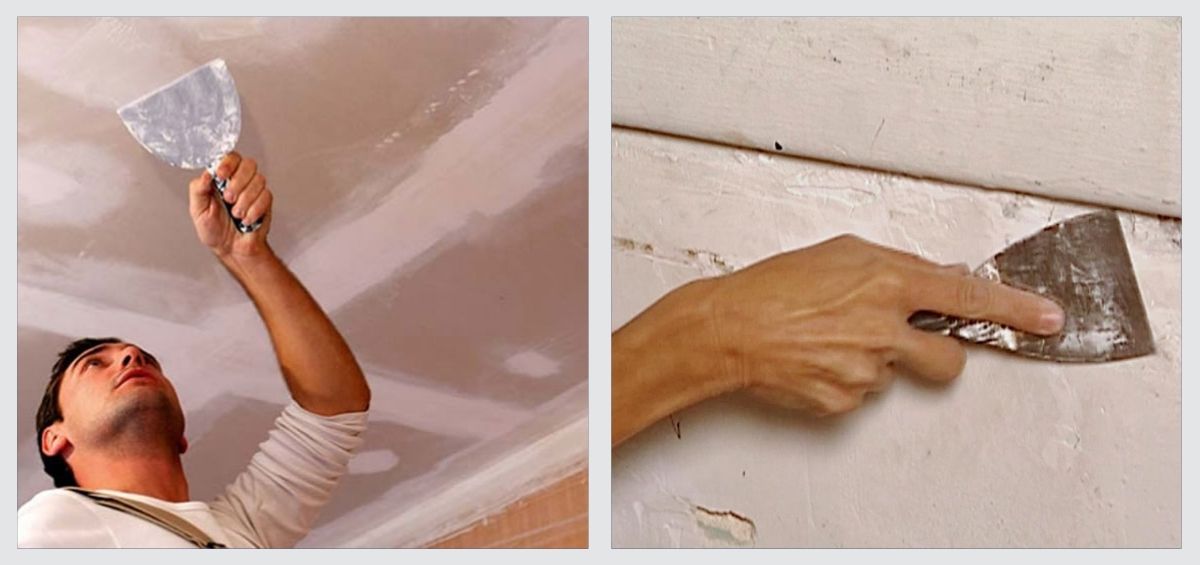
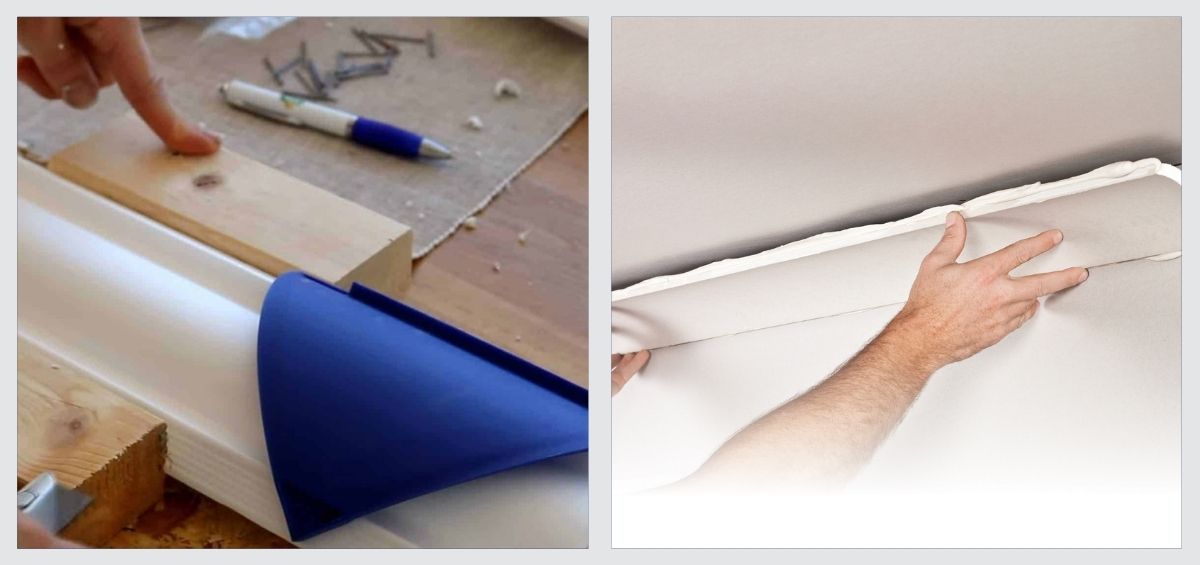
After removing the damaged coving, scrape away any broken plaster left on the wall and ceiling. Fill in holes in the wall and ceiling with fresh plaster or plastic wood filler; once the filler is dry, sand down the area to ensure a smooth surface for the replacement coving. Cut the matching replacement coving to fit the section being replaced, spread coving adhesive on the back edges, and press the section into place. For coving made of plaster, you may have to support the repair piece until the glue has been set.

Patching Coving
If your coving only has slightly broken edges or deep scratches but otherwise is in good shape, you may be able to repair it in place. Use wood filler to rebuild the edges and fill in the scratches. If there is a large hole, pack it with bits of Styrofoam before applying wood filler. Lightly sand the patch to blend it in and paint it to match the rest of the coving.

Cut And Fix
Cut the new piece of coving to the exact size of the section you are replacing using a sharp knife or fine-cut handsaw and fix it into place using coving adhesive. For heavier coving manufactured from plaster, you will need to support or use holding pins until the adhesive has been set.

Sanding Down
Once the adhesive has dried, sand down the edges between the old and new sections of coving to ensure a smooth joint. If there are small gaps left between the coving and wall and/or ceiling use a small amount of filler and again allow for the filler to dry before sanding it down and painting.

Simple Repairs
For coving that’s simply scratched or has slightly broken edges, you may be able to get away with restoring it rather than fitting a replacement section. Try using Polyfilla to build up the edges or fill the deep scratches. For larger holes, you can try packing them with polystyrene pieces before applying the filler.

Particularly Tricky
Restoration of coving can be particularly tricky with curved profiles and ornate patterns to recreate. Making sure you have a selection of scrapers, ample time, and plenty of sandpaper to hand will help replicate the coving and achieve the best results.
Once you’re happy that the coving is restored or replaced all-over gentle sand down and clean before painting will ensure a smooth and tidy finish. Painting your coving white or a lighter colour than used on the walls will help your hard work to standout and also lighten up the room.
Healthy Homes with its expert and experienced technical team can assess and repair external walls. Give us a call today on 1800-419-4647.


