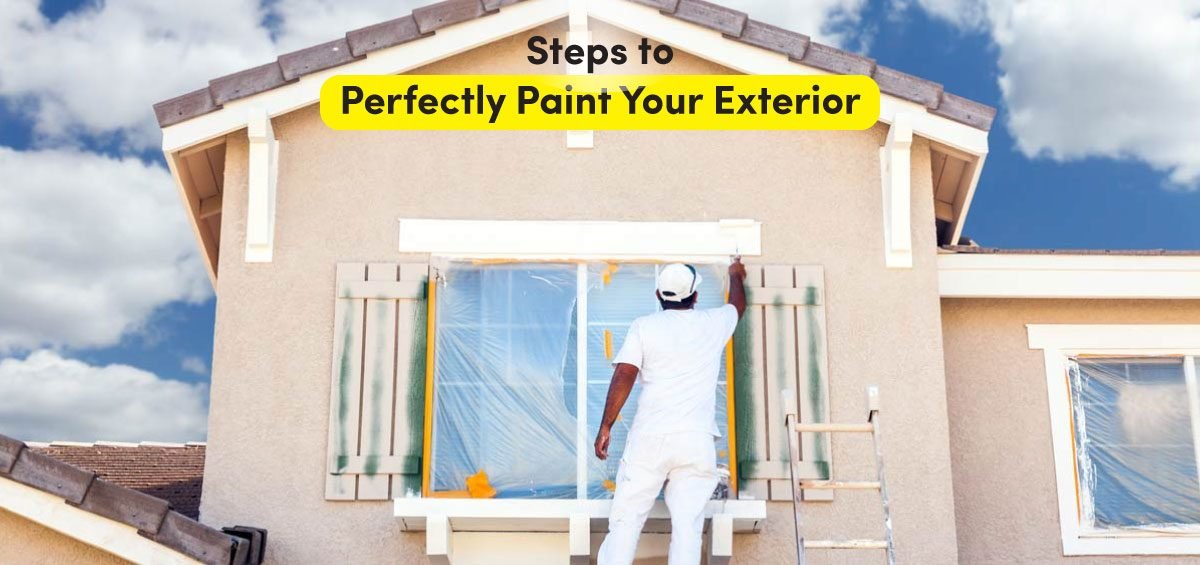
Painting is very important. You should try to paint the exterior of your house every 15-20-year. Exterior painting adds value to your home and lasts for a long time. So if you want to say in your house longer, you have to spend money on re-painting. Let me tell you a secret to a good re-paint job: hard work before painting. Here we will discuss the steps to re-paint the exterior of your house.
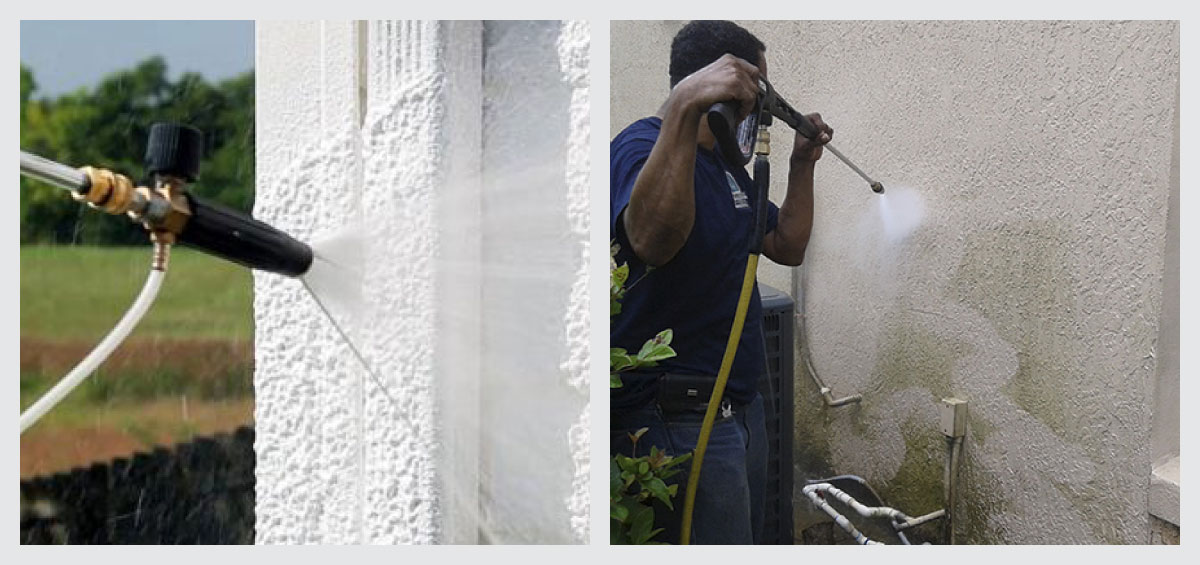
Step 1: Wash the exterior
The exterior of your house needs to be washed properly. There can be dirt, grime, mildew, a lot of things that should be cleansed with a phosphate-free cleaner accurately.
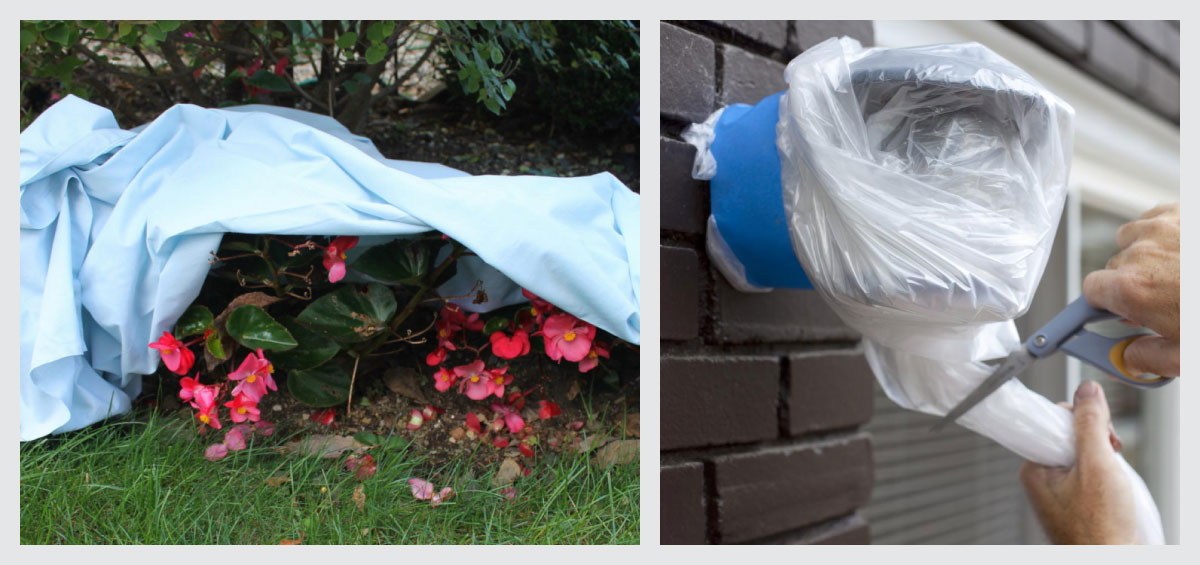
Step 2: Ground Cover
Missed this point? It is a very vital point. You will require to keep shrubs and plants in mind as well. Cleaning paint debris out of bushes is no fun, so use a lightweight canvas cover to cover up flower beds and shrubbery or if there is anything else that needs to be covered. But plan on removing the protective covering at the end of each day so that you won’t risk killing off the plants or other important things you’re trying to protect. A little bit of preplanning can save lots of aggravation and repairs down the road. Also, keep in mind that you do not want an angry neighbour.
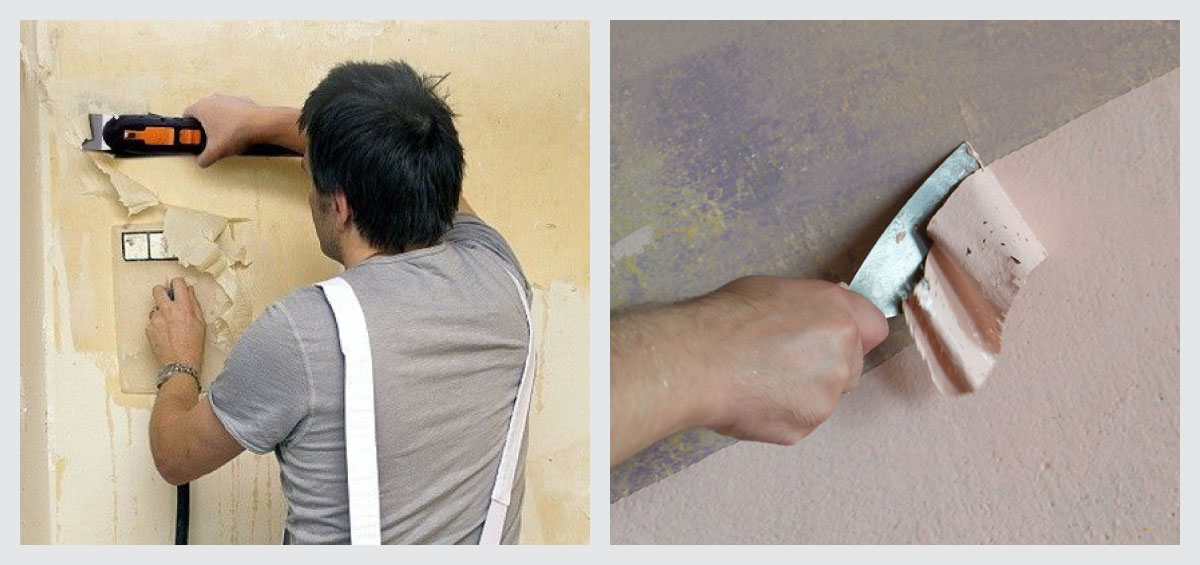
Step 3: Scrape off the loose pant
The next step is to remove flaking and lose paint. But before you start this, you have to wait to get the entire area dried first. Then remove any damaged or loose pieces. Here in step 2, the main motto is to create a flat surface. Normally a hot-air-gun or an infrared paint stripper is used to scrape off the materials. Sometimes a hand-held scraper is also used.
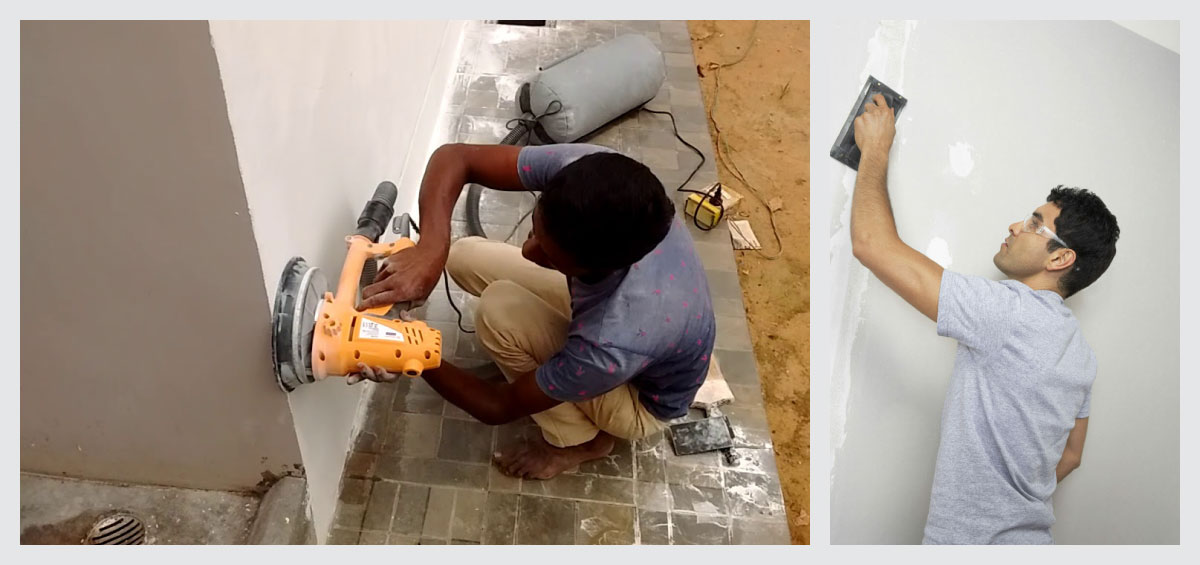
Step 4: Sand rough spots
The next step is to sand rough the surface. A pad sander or random-orbit fitted with 80-grit sandpaper will smooth out any remaining rough spots. Take care not to push so hard that you leave sander marks in the wood, therefore a delicate touch is required.

Step 5: Fill and Repair
Now that washing, scraping and sanding, all have been done, take a breath and pause. Now minutely inspect what you have uncovered. It can be minor holes, dings, chips, etc. Now you need to fill the holes, dings, and chips with a compound or patching putty.

Step 6: Primer
Apply Primer immediately after step 5. White, grey, or tinted primer provides an even base for topcoats to adhere to, and a uniform canvas from which to survey your work. The tint will help to highlight any areas, small gaps in joints and around doors, windows, and other spots where horizontals meet verticals, showing where you need to fill in with caulk.
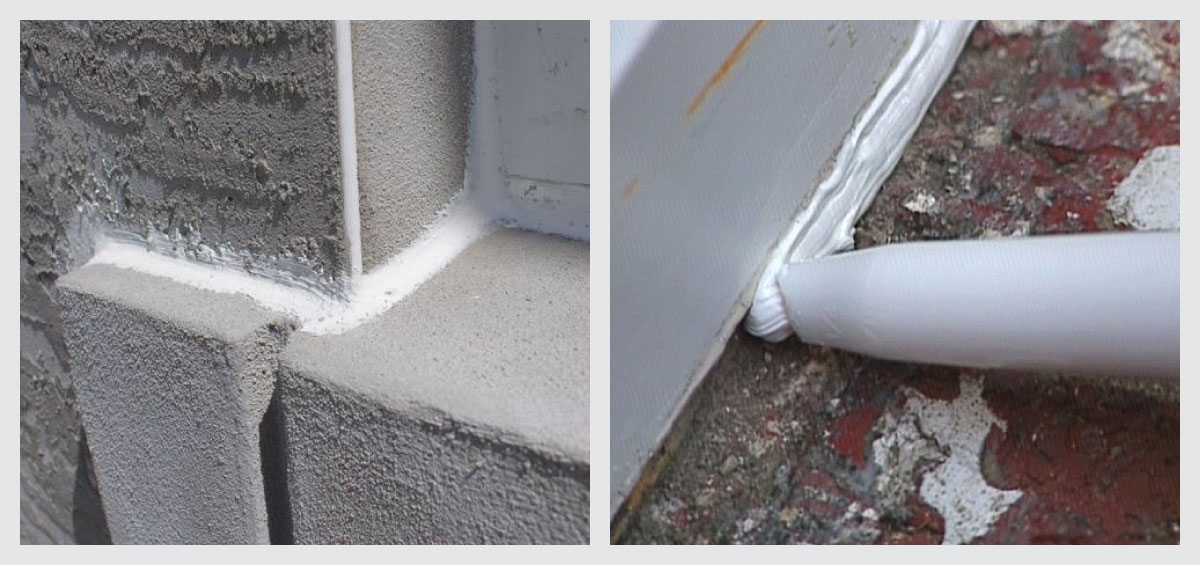
Step 7: Waterproofing
Now is the time to fill those joints and gaps with your caulk. If you don’t, you will see water and air leaks, both affecting the outcome of your paint. Look for a caulk that provides a long warranty. It will stand up to the weather better.
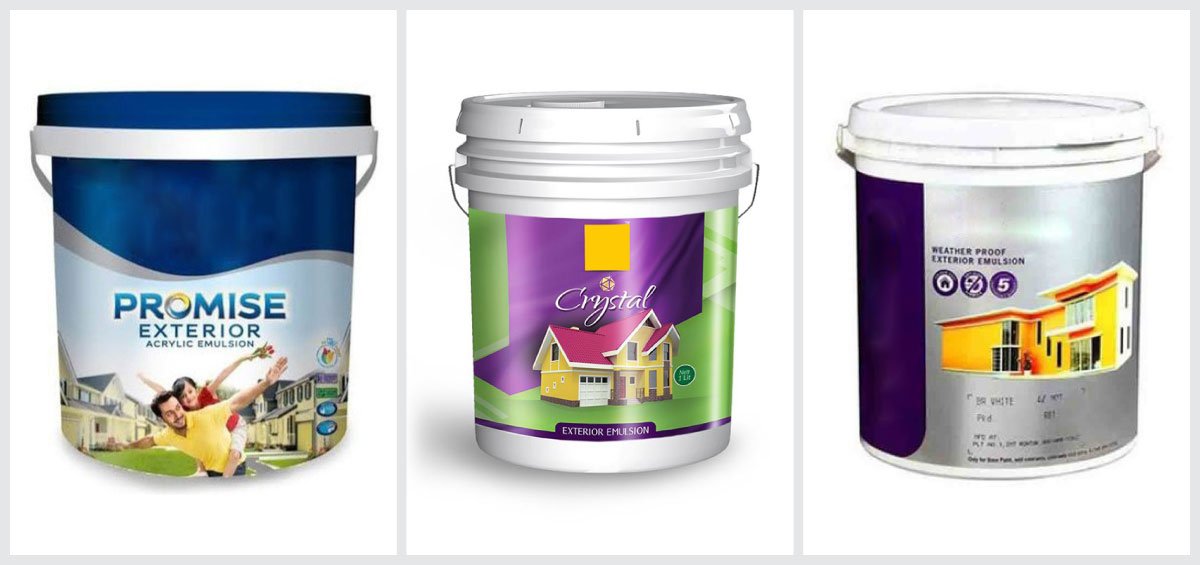
Step 8: Choose Paint
Now is the time to choose the paint. Better go with water-based acrylic latex because it is much easier to deal with. Pick your finish thoughtfully too. The higher the shine content, the stronger the paint will be from the sun’s rays. Satin can work on shingles or clapboards, but high-gloss is best on high traffic portions of the house like handrails and door frames.
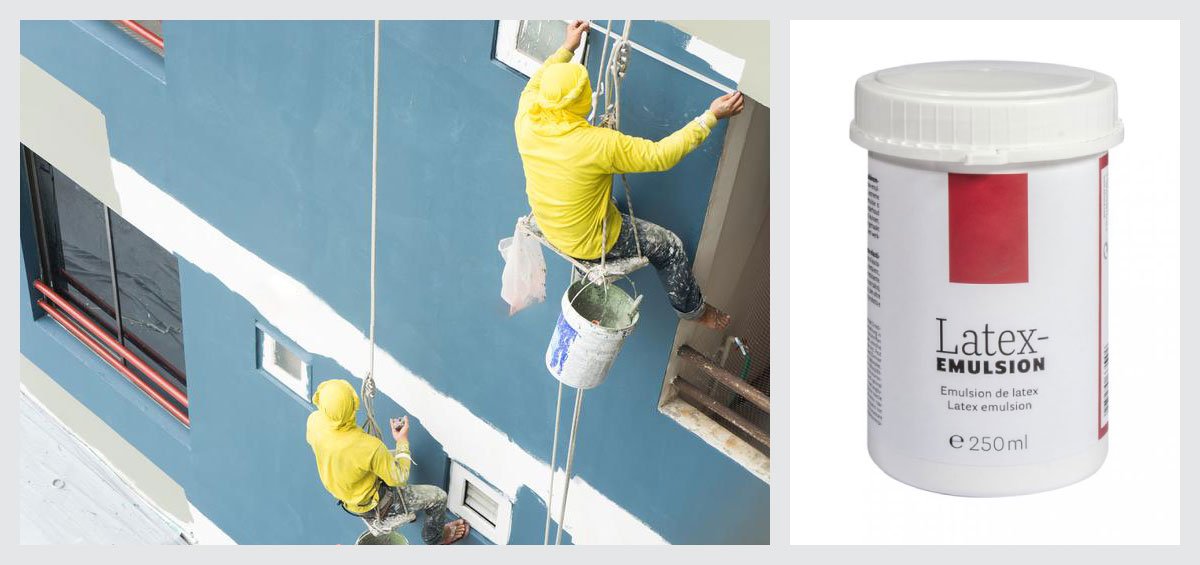
Step 9: Application of Top Coats
Less is more when it comes to applying topcoats. Don’t try to skimp on coats by adding more paint each time. The coats should be thin and allowed to dry completely between. More layers can result in paint flaking off through the years; fewer paint bonds better to layers beneath. If you’re going from a white house to yellow or cream, you might be able to get by with one coat. Going from a light to a dark house, and vice versa usually requires two coats.
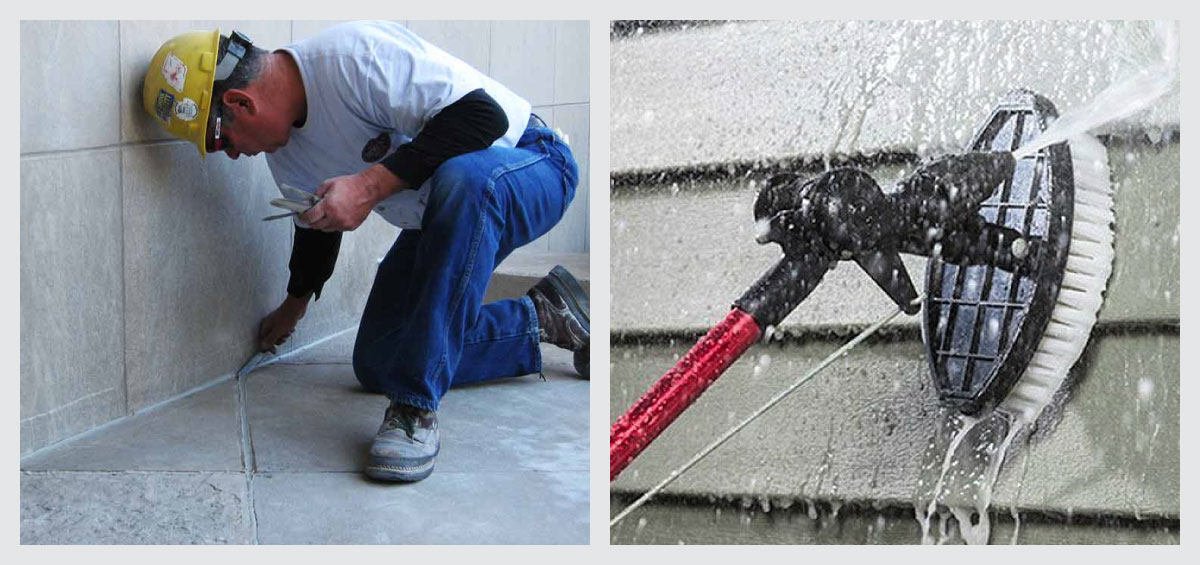
Step 10: Maintenance is very important
You can extend the life of a good paint job by:
- Inspecting the caulk every year and replacing any that’s cracked or missing.
- Removing mold or mildew.
- Washing stains from nesting birds and pollen.
- Touching up blisters and peels before they spread.
Pray to the Weather Gods
If you are planning to do exterior painting and preparations related to it, you always have to keep an eye on the weather. You have to check the weather forecast for the upcoming days. Rain can shut down an exterior paint job, but there are other aspects of the climate to consider as well. For example, many caulk and paints have a limited range of working temperatures. Too hot or too cold, and they will cure slowly or not at all. Read their labels to be sure you won’t have trouble. And please do not buy and store paint in winters. It will be a big mistake. Humidity is another factor that can slow down cure times. If you’re painting in especially humid conditions, be sure to check the previous coat before adding another. Similarly, when planning the course of your work, take the path of the sun into consideration. Areas of the home that get little or no direct sun will set up slower. While sections that bake in direct sun will get a hard surface, becoming dry to the touch before they are fully cured. So now you can understand how important part the Weather Gods play. Try keeping them happy.
Any home improvement is an investment, and this is especially true of exterior painting. It’s always better to invest the time to do the job right, putting in all of the necessary prep to ensure quality home painting. A well-prepped job is certain to look better and last longer than a rushed one.
Healthy Homes with its expert and experienced technical team can assess and repair external walls. Give us a call today on 1800-419-4647.

